Our Guide to Starting Broccoli Indoors
Among the many vegetables you can start from seed, consider starting broccoli indoors. You will not only love the delicious taste of fresh, homegrown broccoli but also benefit from its super health-promoting qualities.
For beginners, starting broccoli indoors might sound like a challenging task. However, the whole process is quite manageable and enjoyable when you have the right guidance. This step-by-step guide contains all the information you need to start broccoli indoors.
Best Broccoli Varieties to Start Indoors

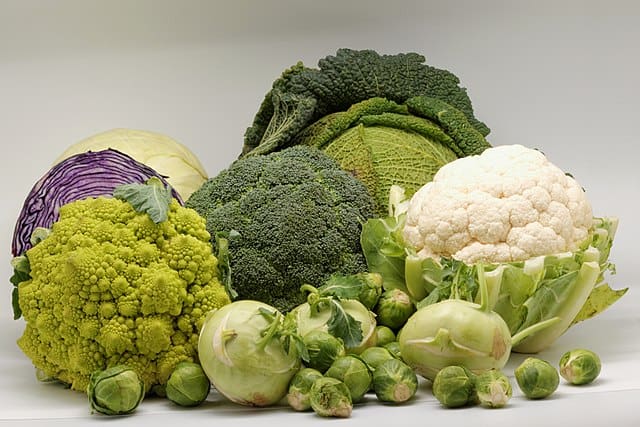
As a brassica, broccoli is a member of the cabbage plant family. A few of the broccoli varieties for indoor starting include Waltham 29, Green Goliath, Calabrese, and Di Cicco. Notably, different broccoli varieties require varying lengths of time to grow. Starting broccoli indoors can be super fun, especially if you have kids around.
How to Start Broccoli Indoors
STEP ONE: SOW YOUR SEEDS
Prepare your pot
For convenience, start your broccoli in pots that can accommodate your plants right from sowing to transplanting.
Your pot (or any other container like disposable cups) should measure three inches in depth to allow ample room for root growth. Punch holes in the bottom of your pot for easy drainage. Remember, allowing water to collect around the roots will ultimately kill the plants.
If you opt to reuse old pots, remember to clean and rinse them using a mixture of water and bleach. This will help to kill any disease-carrying organisms.
Prepare a soilless potting mix
A soilless potting mix is weed-free. It promotes fast growth due to its fluffy and light texture. Put the mix in a container, and add water to make the mix damp (not soggy).
Transfer the mix into your pot, filling it to 1.25 cm (half an inch) from the top. Gently tap the pot to firm your mix.
Make a furrow using a pencil
In each make pot, the furrow should measure half an inch deep and an inch long. Sow between four and five seeds in each furrow.
Cover the seeds with the remaining mix and gently press down.
Label each pot with the sowing date and broccoli variety sowed in it.
Arrange your pots in a tray
Cover your pots loosely using a transparent plastic wrap. Covering helps retain moisture. Place the tray of pots in a warm location to promote fast germination.
STEP TWO: EXPOSE THE SEEDLINGS TO BRIGHT LIGHT
The moment you spot green leaves sprouting from the pots, uncover the tray by removing the plastic wrap. Expose the seedlings to a source of bright light. Adequate light makes the seedlings strong. Note that the first leaves will start forming between four and eight days after planting.
If you live in a sunny climate, place your tray on a windowsill facing the south. Give the tray a quarter-turn each day for even light exposure.
In darker climates expose your seedlings to an LED grow light. Optimal exposure lasts fourteen hours daily.
STEP THREE: CARE FOR YOUR SEEDLINGS
Avoid exposing your seedlings to high temperatures as too much heat makes them lush and soft. Therefore, a relatively cool daytime environment (between 60-65oF or 15.5-18oC) is recommended. At night, the temperature should be reduced by 10oF. You may opt to rely on ventilation systems. However, you must block any cold drafts from hitting the seedlings.
When watering, do it gently to avoid root disturbance. Use a watering can that provide thin streams. Alternatively, you can rest the pots in a tray with water, so it soaks into the pot from the drainage holes below.
Introduce a 5-10-5 liquid fertiliser once every week. The fertiliser must be diluted to half its strength.
Gradually thin your seedling. To do this, use a small pair of scissors to remove weaker seedlings. Ensure when the plants are almost 5 cm (two inches) tall, there is only one seedling remaining in each pot.
STEP FOUR: HARDEN YOUR SEEDLINGS
If you suddenly relocate your seedlings from their cosy indoor settings to harsh outdoor conditions, you will shock to your young broccoli seedlings. This will decrease your final yield and slow down the seedlings growth. Therefore, when you harden off your plants, you force them to toughen up to survive and grow under the bright sun, chilly wind, and cooler temperatures of your early-spring garden.
Hardening off means you stop applying fertiliser two weeks before you transplant your seedlings. Water after a day or two to discourage wilting.
A week before the hardening process, your seedlings should be in a cold and well-ventilated frame. The seedlings should be shaded to protect them from the scorching effect of the afternoon sun. At night, cover them from frost, or bring them indoors.
Gradually increase the amount of cold and heat (sunlight) to which you expose the seedlings every day. Water the seedlings only when the soil surface starts feeling dry. When your seedlings have grown 10-15 cm (4-6 inches) tall, they can are ready to be transplanted to the garden.

